G Wagon Authentic Part Junctiom
W463 Side Step Replacement

May
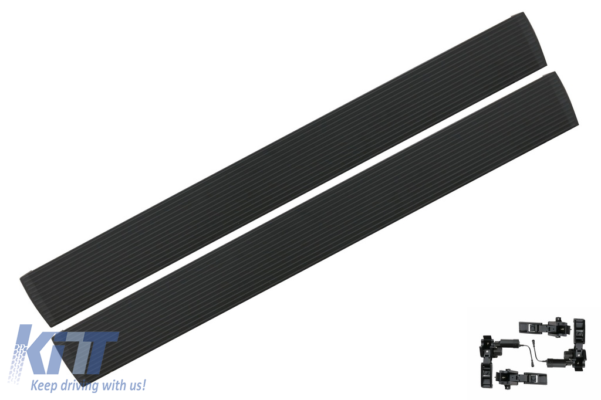
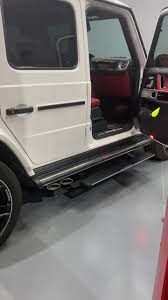
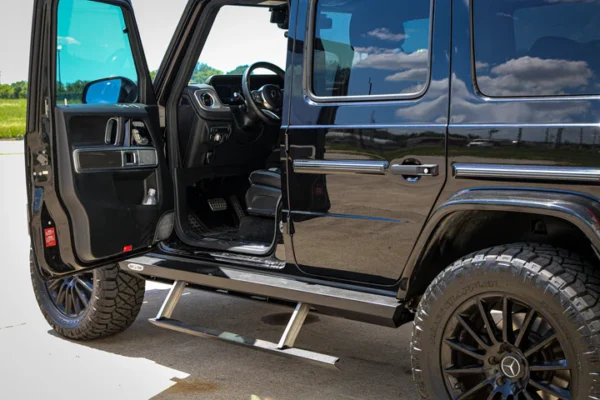
W463 Side Step Replacement for starters, the stock ones get beat up pretty quickly. Rocks, curbs, rust—especially if you go off-road even a little. Then there’s the style factor: right now, a lot of folks want that all–black, modern G-Wagon vibe. Some want power steps that tuck away when you’re driving to keep things sleek. New steps can also make your G-Class actually easier to climb into, especially if it’s lifted, and they help keep mud kicked up by the tires off your paint. Step Options for the W463 You’ve got a few solid choices here: Fixed running boards or nerf bars: These bolt right on—usually aluminum or stainless steel—and come in black, polished, or powder coated finishes. They look tough, a bit like the originals, but with a little more attitude. Power retractable steps: These are fancy—open the door, the steps drop down; close the door, and they tuck away. Perfect if you want a clean side profile. The Brabus-style electric steps are really popular. Vinyl blackout / chrome delete kits: If you’re not ready to swap parts, vinyl wrap is a quick fix. You can cover all the chrome with matte or gloss black, and you don’t even have to take the steps off. OE-look or Brabus-inspired steps: These are replicas or upgrades that give you the original look, but with better materials or extra features like LED lighting. What You’ll Need For a basic replacement job, grab these: – 10mm and 8mm sockets – Torx bits (T20/T25) – Flathead screwdriver or trim tool – Jack and stands – Torque wrench – Isopropyl alcohol and microfiber towels If you’re installing electric steps, you’ll also need wiring tools and might have to take off some interior panels. Always disconnect the battery before touching anything electrical, and double-check your manual for model–specific details.
How to Remove W463 Side Step Replacement
1W463 Side Step Replacement. Park somewhere flat and set the parking brake. 2. Take off the plastic fasteners and any jack mounts holding the step in place. 3. Undo the bolts under the step—usually three or four brackets per side, with two bolts each. 4. Pop off the end caps and loosen any connections to fender trim. 5. Support the step so it doesn’t drop, then remove the rest of the hardware and lift it out. You can usually get one side done in about half an hour—an hour tops. Putting On the New Steps For fixed boards: – Line up the new brackets with the original mounting holes. – Bolt them in and torque everything down. – Reattach any trim you took off. For power electric steps: – Mount brackets to the chassis. – Run the wiring into the cabin, usually near the battery. – Hook up the wires to door sensors and power. – Test that everything works before you tighten the final bolts. Wiring electric steps is trickier. If you’re not confident with wiring, paying a pro is a smart move. Blackout Option with Vinyl Wrap If you just want the blacked–out look on a budget, go with a chrome delete vinyl kit. Clean the step really well, tuck the pre-cut vinyl pieces under the rubber trim, and squeegee out the bubbles. It takes less than an hour per side, and you can always peel it off later if you change your mind.